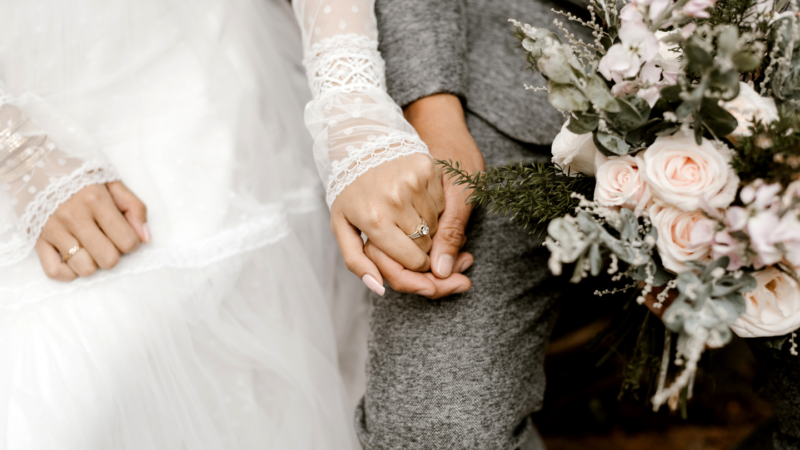
Planning your wedding is an exciting journey, and designing your own wedding invitations is a beautiful way to add a personal touch to your special day. Whether you’re a seasoned designer or a creative novice, crafting unique invitations allows you to set the tone for your wedding and express your individual style. In this guide, we’ll walk you through the step-by-step process of creating stunning wedding invitations, from choosing the right paper to selecting fonts and color schemes. We’ll also share some success stories from previous clients to inspire your own design.
Step 1: Define Your Style and Theme
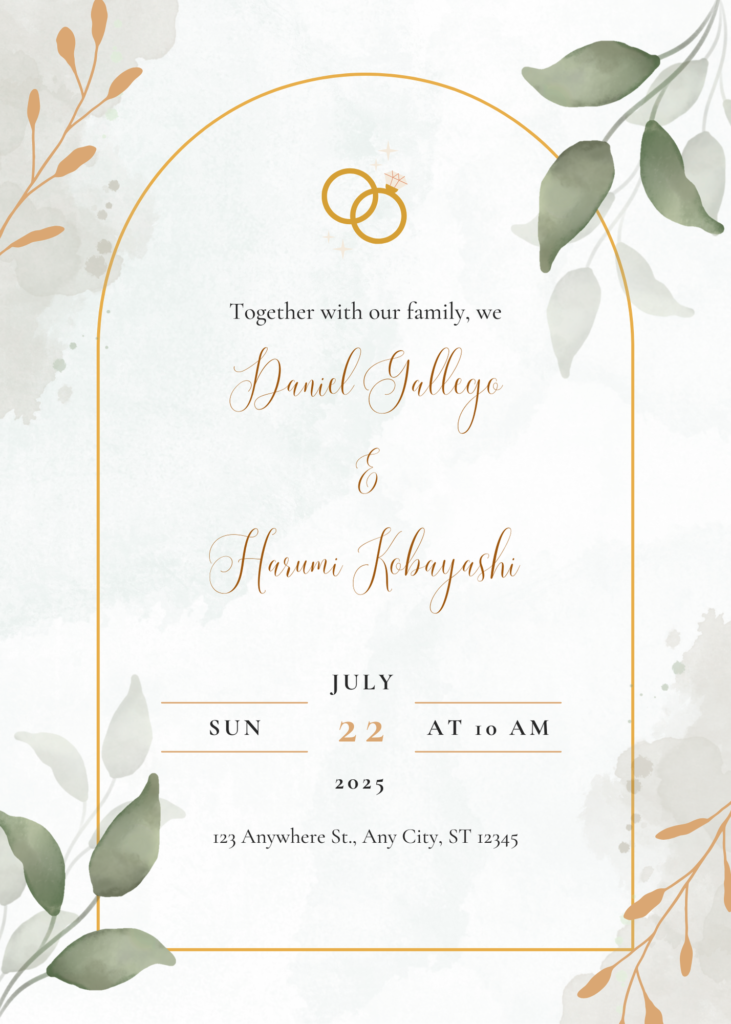
Before diving into the details, having a clear vision of your wedding style and theme is essential. Are you planning a rustic barn wedding, a glamorous city affair, or a romantic beach ceremony? Your invitations should reflect the overall mood and theme of your wedding.
Tips:
- Gather Inspiration: Look through wedding magazines, Pinterest boards, and other resources to gather ideas and identify elements you love.
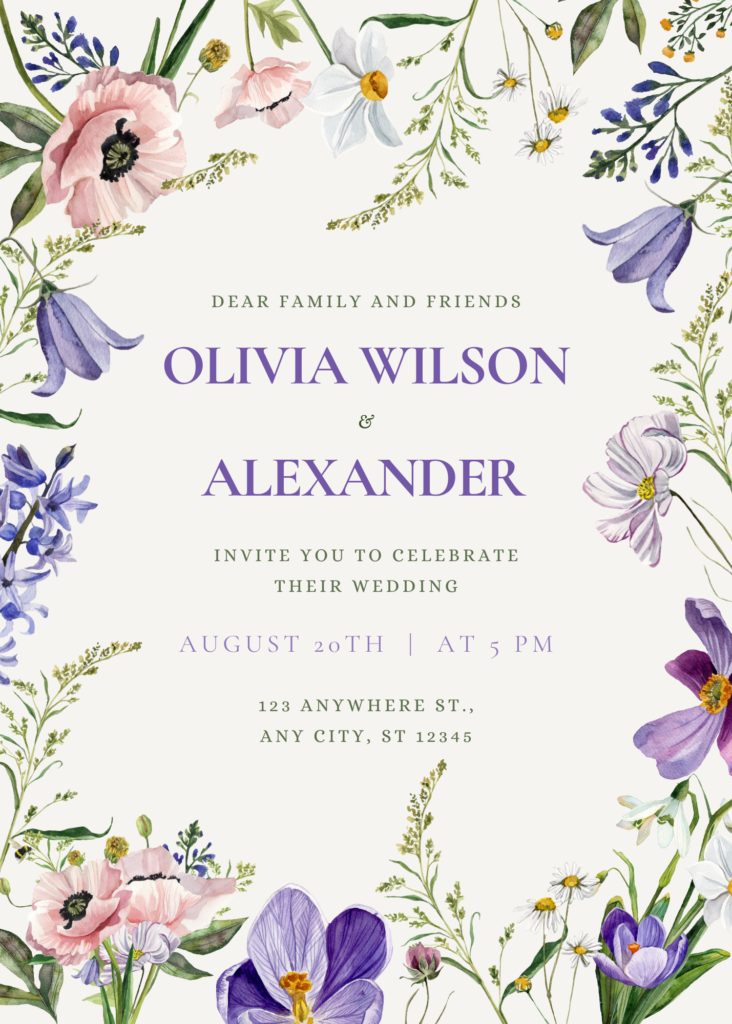
- Consider Your Venue: The location of your wedding can influence the design. A garden wedding might call for floral motifs, while a formal ballroom event might inspire elegant and sophisticated designs.
- Match Your Color Scheme: Choose colors that complement your wedding’s color palette. This creates a cohesive look from your invitations to the actual event.
Step 2: Choose the Right Paper
The choice of paper sets the foundation for your invitation’s look and feel. The paper’s texture, weight, and finish can dramatically influence the overall aesthetic.
Tips:
- Select High-Quality Paper: Opt for heavyweight paper (typically 100-120 lb) to give your invitations a luxurious feel. Popular choices include cardstock, cotton paper, and recycled paper.
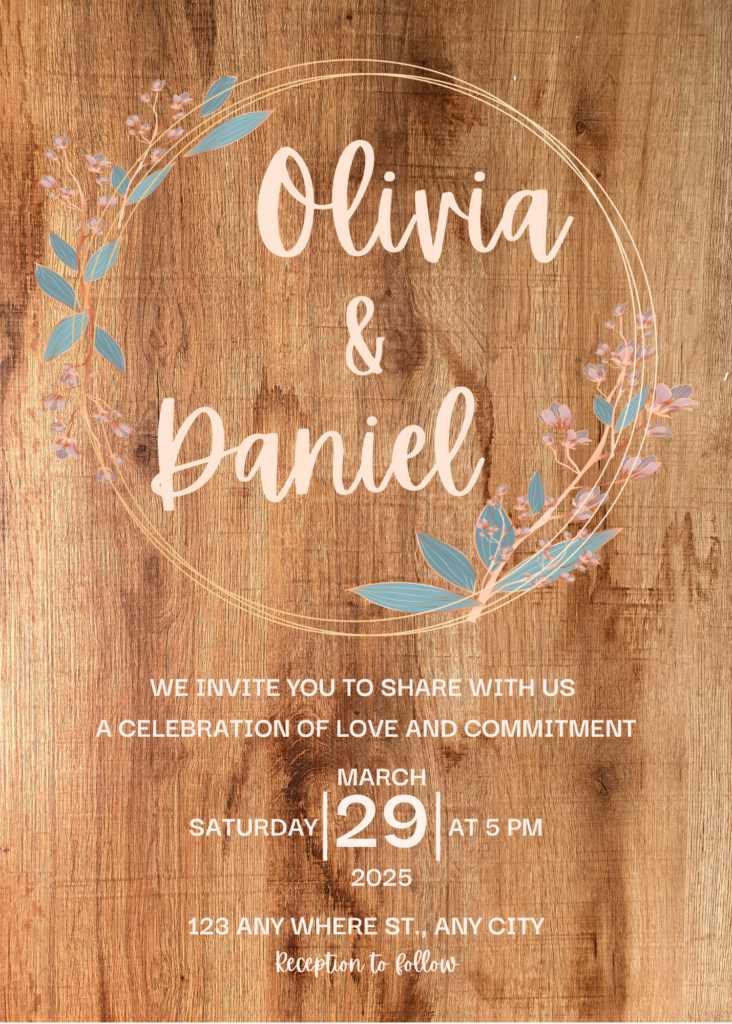
- Explore Textures: Consider textured papers like linen or felt for a tactile element. Smooth, matte finishes offer a modern, sleek look, while glossy finishes can add a touch of elegance.
- Think About Color: Neutral tones like ivory, white, and blush are classic choices. However, don’t shy away from bold colors if they fit your theme.
Step 3: Select Your Fonts
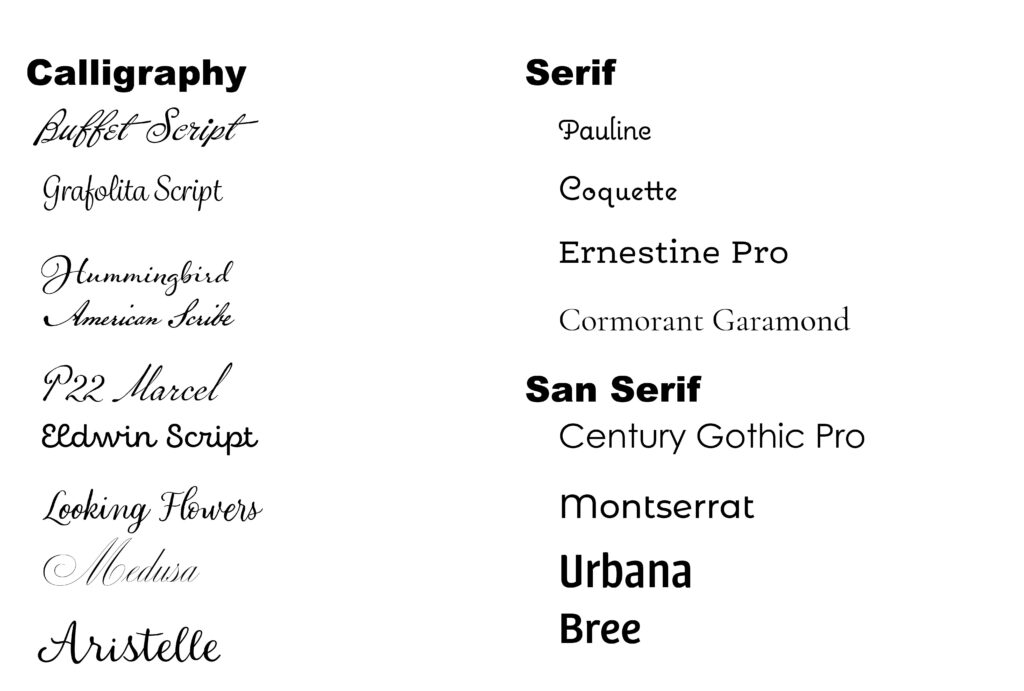
Fonts play a crucial role in setting the tone of your wedding invitations. They convey personality and can range from casual and playful to formal and elegant.
Tips:
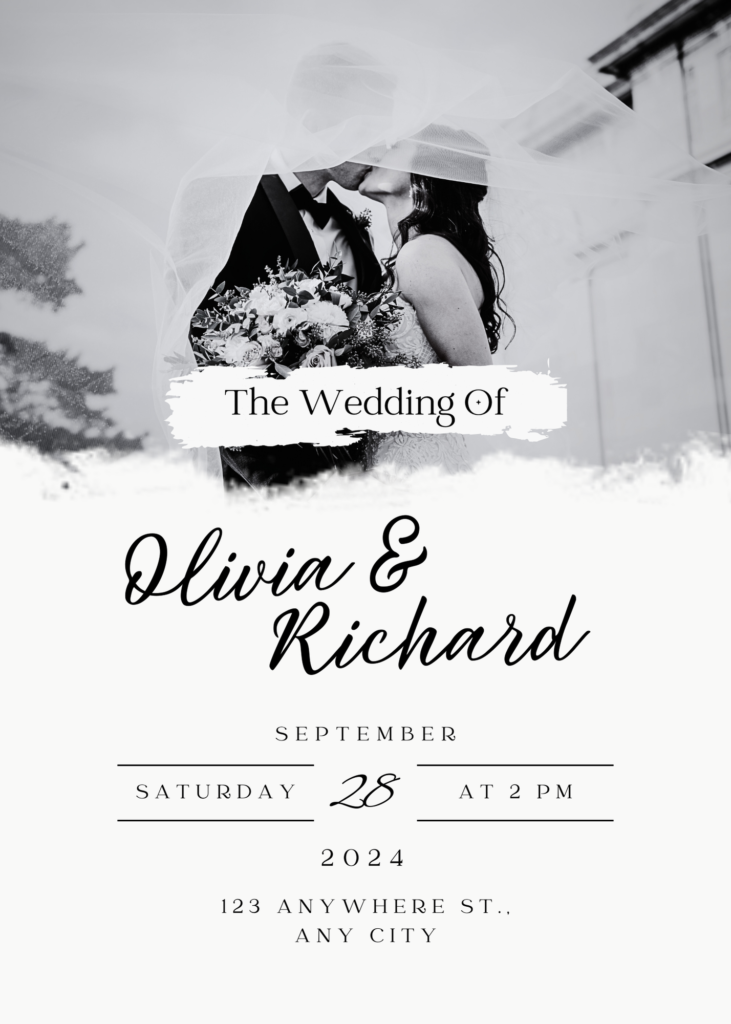
- Combine Fonts: Use a combination of fonts to create hierarchy and visual interest. Pair a decorative script font for the couple’s names with a clean, sans-serif, or serif font for the details.
- Ensure Readability: While artistic fonts are beautiful, they should still be easy to read. Balance ornate fonts with more straightforward options to maintain clarity.
- Keep It Consistent: Use the same fonts across all your wedding stationery to create a cohesive look.
Step 4: Create a Cohesive Color Scheme
Color is one of the most powerful elements in your invitation design. It can evoke emotions and set the mood for your event.
Tips:
- Use Your Wedding Colors: Incorporate your wedding’s color palette into your invitation design to give guests a preview of what to expect.
- Play with Contrasts: Combine light and dark colors for a dynamic look. For example, pairing a soft blush background with rich gold lettering can create a striking contrast.
- Consider Seasonality: Reflect the season of your wedding in your color choices. Warm, earthy tones are perfect for fall weddings, while pastels are lovely for spring.
Step 5: Add Personal Touches
Personalizing your invitations makes them unique and special. Adding elements that reflect your personality as a couple can make a significant impact.
Tips:
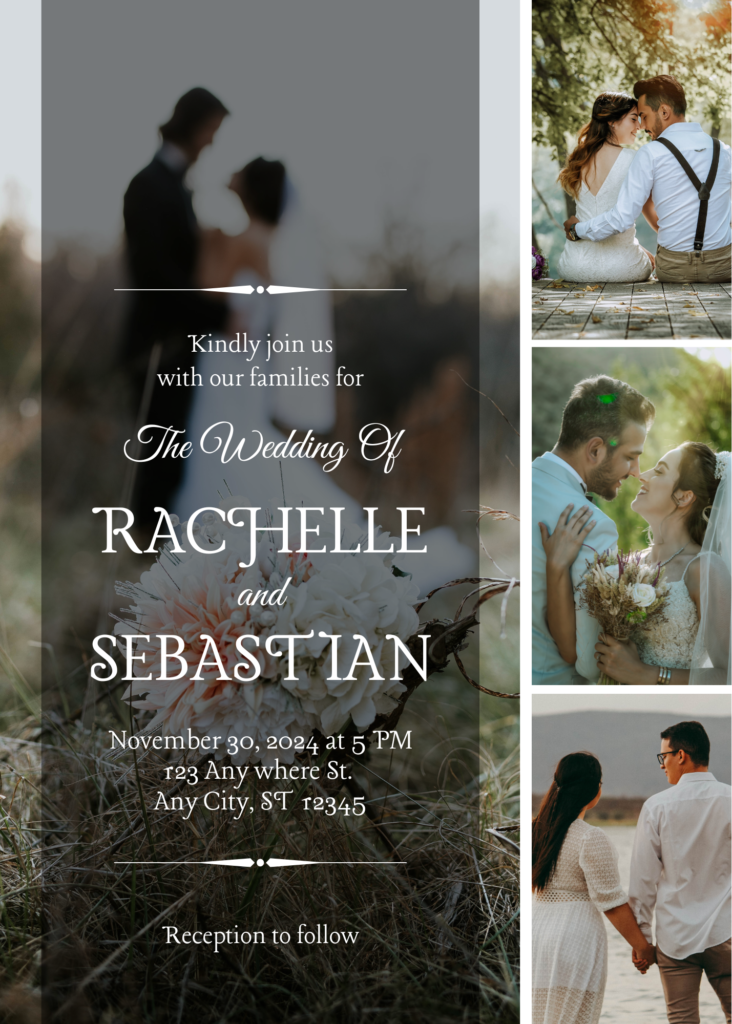
- Include Custom Illustrations: Consider adding hand-drawn elements or illustrations that are meaningful to you, like your venue or a favorite flower.
- Use Monograms or Logos: Create a custom monogram or logo that can be used throughout your wedding stationery.
- Write a Personal Message: Include a heartfelt note to your guests, thanking them for being part of your special day.
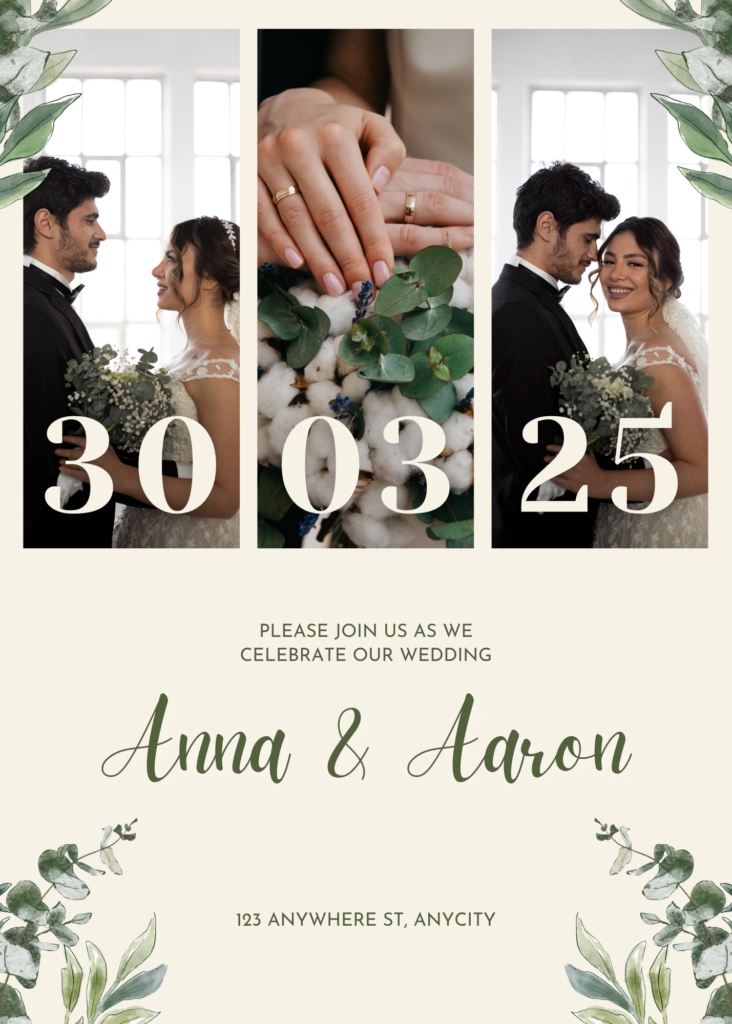
Step 6: Review and Print
Once you’ve finalized your design, it’s time to review and print your invitations.
Tips:
- Proofread Carefully: Check for any spelling or grammatical errors. It’s helpful to have a few other people review your invitations, as well.
- Order Samples: If possible, order a sample print to ensure everything looks as expected.
- Choose a Reputable Printer: Work with a professional printing company that offers high-quality printing services and can guide you through the process, like OMNI Print.
Designing your own wedding invitations is a rewarding process that allows you to infuse your personal style into every detail. By following these steps and considering the examples and tips shared, you can create beautiful, memorable invitations that perfectly reflect your love story and set the stage for your wedding day.
Embrace the creative journey, and don’t be afraid to experiment with different elements until you find the perfect combination. With a bit of inspiration and careful planning, your DIY wedding invitations will be a cherished part of your wedding memories.
If you need any assistance with the printing process or have questions about designing your invitations, our team at OMNI Print is here to help. We offer a range of high-quality printing services and are dedicated to making your vision come to life. Contact us today to get started on your custom wedding invitations!
